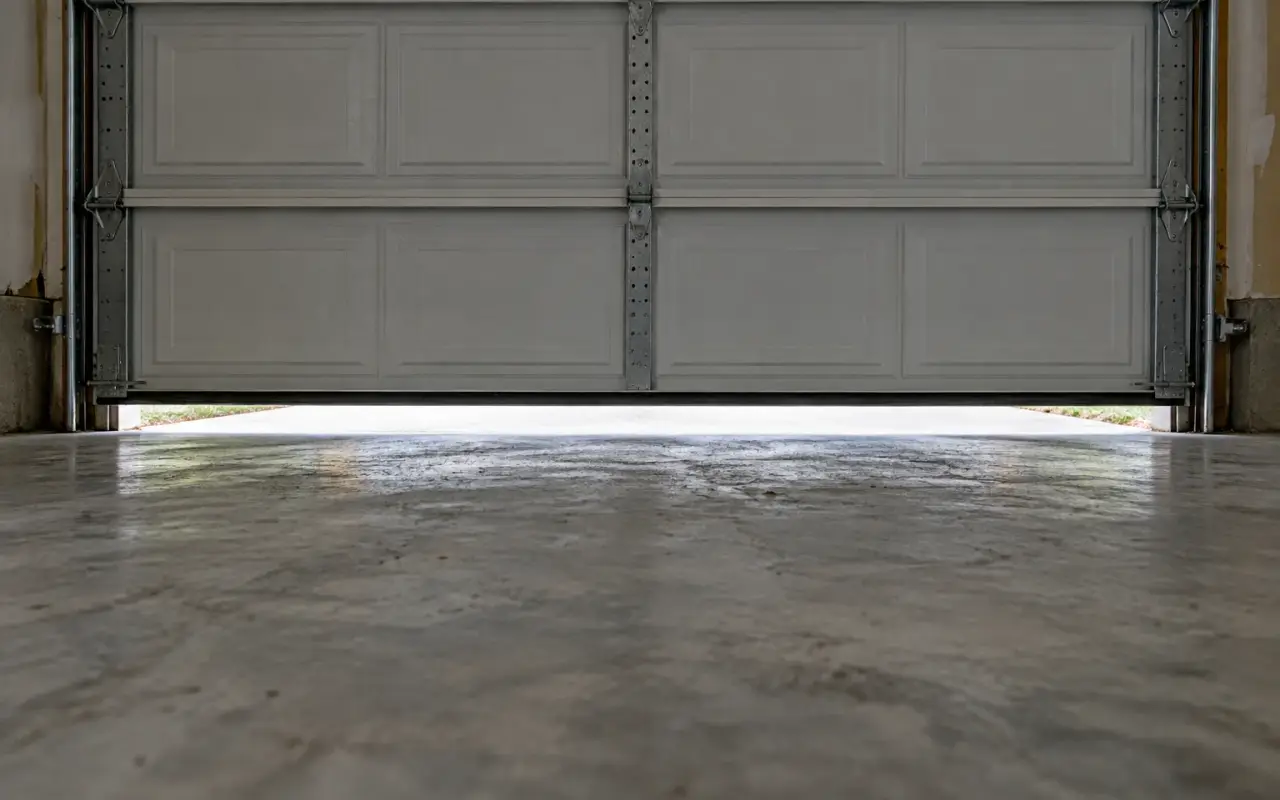
Two settings decide how an opener moves a door. Travel limits set where it stops: fully open and fully closed. Force sets how much push the opener allows before it decides something is wrong and stops or reverses. When either is off, the symptoms are familiar: a door that stops a few inches short, one that touches the floor and goes straight back up, one that opens too far.
Check the door before the opener
Every manual here says the same thing in different words: adjustments are not a cure for a door that is binding or out of balance. Genie: "NEVER adjust the force settings to adjust for damage, including an unbalanced door, binding door track or broken spring." Craftsman: "NEVER use force adjustments to compensate for a binding or sticking garage door."
So look first. With the door closed, check the springs above it or along the tracks for a gap. If they are whole, the Craftsman manual's test is to pull the emergency release and open and close the door by hand; the federal text in every opener manual asks that the release be used, where possible, only with the door closed. "If the door is binding or unbalanced, call for a trained door systems technician." See broken spring.
Which kind of opener you have
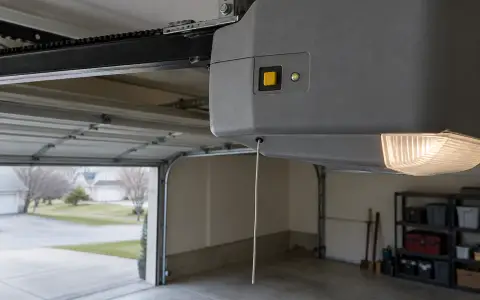
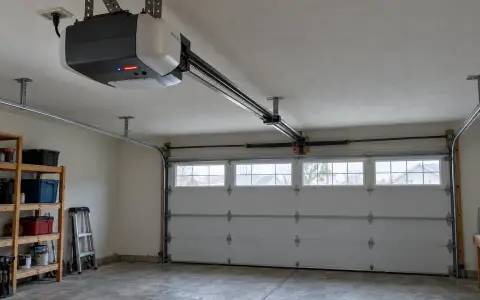
- Buttons on the motor unit (UP, DOWN and an adjustment or program button): the limits are programmed electronically. On the Chamberlain models in the manual cited here, the force is "adjusted automatically when you program the travel."
- Two adjustment screws on the side panel, marked for UP and DOWN, plus two force dials on the other side: an older mechanical design, like the Craftsman 139.18590.
Button-type: LiftMaster and Chamberlain
From Chamberlain's owner's manual. The buttons are on the left side panel of the motor unit.
- Press and hold the Adjustment button until the UP button starts to flash or you hear a beep.
- Press and hold UP until the door is where you want it to stop when open.
- Press and release the Adjustment button. The opener's lights flash twice and the DOWN button starts to flash.
- Press and hold DOWN until the door is where you want it to stop when closed.
- Press and release the Adjustment button. The lights flash twice and UP starts to flash.
- Press and release UP. The door travels to the open position and DOWN starts to flash.
- Press and release DOWN. The door closes to the programmed position. Done.
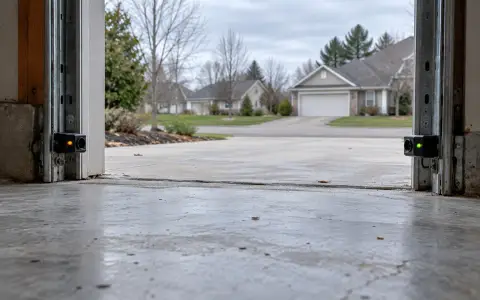
If the lights flash 5 times during these steps, programming timed out: start again. If they flash 10 times, the safety sensors are blocked or misaligned; see safety sensors.
Button-type: Genie with a Program button
From Genie's programming instructions. The door must be connected to the carriage first, and it should start somewhere between fully open and fully closed. Each step has 30 seconds; if both LEDs turn red, time ran out, so start the step again. Do not run the opener from the wall control before the limits are set, and do not set them on battery backup.
Closed position
- Press and hold the DOWN arrow until the long LED lights blue, then release it. The long LED flashes blue.
- Press and hold DOWN until the door is fully closed. Use UP to back it off if it goes too far.
- Press and release the Program (SET/PRGM) button. Both LEDs flash blue and go out.
Genie says the door should rest on the floor with the weather seal compressed enough to seal along its width, but not so much that the door bends.
Open position
- Press and hold the UP arrow until the long LED lights blue, then release it. The round LED flashes blue.
- Press and hold UP until the door is fully open, so that the seal is even with the header. Use DOWN if it goes too far.
- Press and release Program. Both LEDs flash blue and go out.
Force is set automatically: run the door from the wall control once all the way down and once all the way up, and the opener records it.
Screw-type: older Craftsman and similar
From the Craftsman 139.18590 owner's manual. Use a screwdriver and run the door through a full cycle after every change. The UP and DOWN screws are on the left side panel; one turn moves the stop by about 3 inches.
| Problem | Adjustment |
|---|---|
| Door does not open fully, but opens at least 5 feet | Turn the UP screw clockwise. |
| Door opens less than 5 feet | Not a limit problem: increase the UP force (below). |
| Door does not close completely | Turn the DOWN screw counterclockwise. |
| Door reverses when it reaches the floor | Turn the DOWN screw clockwise. |
The two force dials are on the right panel. Their whole range is about three quarters of a turn; do not force them past it.
- Close force: grab the bottom of the door halfway down. It should reverse. If it is hard to hold or does not reverse, turn the close force counterclockwise in small steps. If the door reverses on its own while closing and the lights are not flashing, increase it slightly, clockwise. The manual: "Do not increase the force beyond the minimum amount required to close the door."
- Open force: grab the door halfway up. It should stop. If it is hard to hold, turn the open force counterclockwise. If it will not open 5 feet, turn it clockwise a little.
Running the opener over and over while adjusting can overheat the motor and shut it off. The manual's advice: wait 15 minutes and try again.
After any change: the reverse test
Every manual makes this mandatory after an adjustment. With the door open, lay a 2-by-4 flat on the floor in the middle of the opening and close the door. It must reverse when it touches the board. Genie adds that it should reverse to fully open within 2 seconds.
If it stops on the board instead of reversing, the door is not traveling far enough down: on button-type openers program the closed position again, on screw-type turn the DOWN screw a quarter turn counterclockwise. Repeat the test. Then run 3 or 4 full cycles. If it keeps failing, both Chamberlain and Craftsman say to call a trained door systems technician.
The federal text in every residential opener's manual asks for the same test every month: "The garage door MUST reverse on contact with a 1½ inch object (or a 2 by 4 board laid flat) on the floor" (16 CFR 1211.16). More in the monthly reverse test.
Updated 2026-10-11.
 LiftMaster remote
 LiftMaster keypad
 Blinking lights and codes
 Genie remote
 Genie keypad
 HomeLink in the car
 Erase all remotes
 Remote not working
 Craftsman remote and keypad
 Genie blink codes
 Safety sensors
 myQ and Wi-Fi
 Universal remote
 Wall button not working
 Maintenance and lubrication
 Emergency release
 Battery backup
 Opener light bulbs