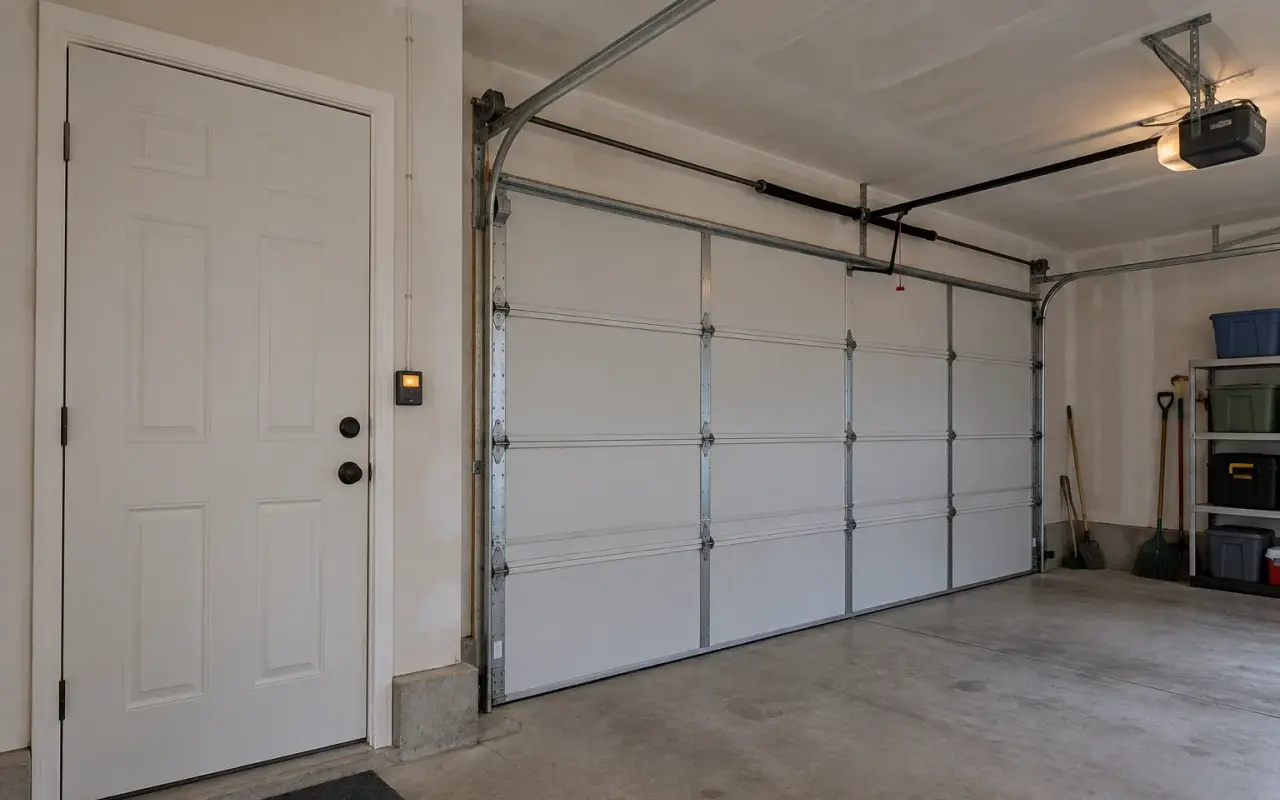
The button on the garage wall, which the manuals call the door control or wall console, is usually connected to the opener by a thin two-wire cable stapled along the wall and ceiling. Start by trying a remote.
- The remote works, the wall button does not: the opener is fine. The fault is in the button or its wire. Read on.
- Nothing works, remote or button: start with power, below.
- The button works, the remote does not: that is the opposite problem; see remote not working.
1. Power
Genie's first check: plug a lamp into the outlet the opener uses. If the lamp does not light, the outlet is dead; check the breaker or fuse. If the lamp works, the power is fine and the problem is in the opener or its controls.
2. Lock or vacation mode
Genie lists turning off Sure-Lock, its vacation lock, as the first thing to check when the opener does not respond to the wall console. On Chamberlain controls, the lock blocks remotes while leaving the wall control and keypad working, and the control's LED flashes while it is on. The Craftsman manual: if the control console is blinking, the lock mode is on.
3. The opener's own code
Many openers flash a code when the wall control's wiring is at fault:
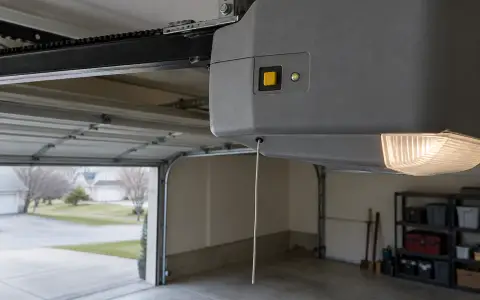
- LiftMaster and Chamberlain (arrows on the motor unit): 1 up, 3 down means "the wires for the door control are shorted or the door control is faulty." See LiftMaster blinking lights.
- Craftsman (Learn LED): 3 flashes mean the door control or its wire is shorted.
- Genie (green powerhead LED): 4 blinks mean the wall button wire is shorted or its wires are reversed. Genie Excelerator: 6 blinks mean the wall console does not work. See Genie blinking lights.
4. The wire and its staples
Follow the thin cable from the button to the opener. Genie's troubleshooting page: "Staples can cut insulation and short out the wires." Look for a staple driven through the cable, a pinched or cut spot, and loose connections at both ends: on the back of the button and at the opener's terminals. Genie also names reversed wires as a cause.
5. Is it the button, or the wire?
Both Genie and the Craftsman manual give the same test. Unplug the opener before touching its terminals, then plug it back in to test.
- At the button: disconnect the two wires from the back of the wall control and touch their ends together. If the opener runs, the wire is fine and the button is faulty: replace it.
- At the opener: if it does not run, disconnect the wall control's wires from the opener and briefly bridge the two wall control terminals with a short piece of wire. The Craftsman manual names them: the red and white terminals. If the opener runs now, the cable between them is the problem: replace it.
Genie says the button-end test applies to its Series II wall console. Smart or multi-function wall controls with a display, a lock or a light button may not work this way; check your opener's manual before you try it.
If neither test runs the opener, the fault is in the opener itself.
A replacement button
Wall controls are not universal. Genie says to replace its wall console "with the correct one for your garage door opener model", and older Chamberlain controls do not work with its newer openers: the owner's manual warns: "Older Chamberlain remote controls, door controls, and third party products are not compatible." Take the opener's model number from the label on the motor unit before you buy one.
Updated 2026-10-11.
 LiftMaster remote
 LiftMaster keypad
 Blinking lights and codes
 Genie remote
 Genie keypad
 HomeLink in the car
 Erase all remotes
 Remote not working
 Craftsman remote and keypad
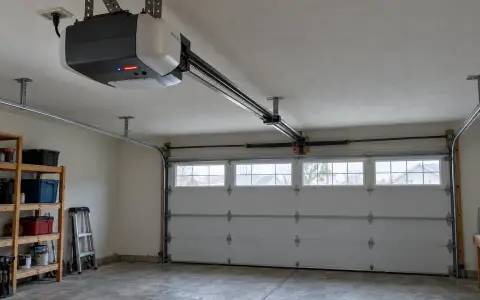 Genie blink codes
 Safety sensors
 Travel limits and force
 myQ and Wi-Fi
 Universal remote
 Maintenance and lubrication
 Emergency release
 Battery backup
 Opener light bulbs